Setting up for Virtual Appointments
Download / Print File
Step 1: Choose an online platform. You can select any combination of Zoom, Facetime, Google Hangouts, or the option for “other” on your website. You just tell us which of those platforms you’d like your clients to be able to use.
Step 2: Create an account and download your platform. Detailed instructions for how to create an account and use Zoom can be found below.
Step 3: Make sure you know how to respond to a meeting request and set up the meeting. Hibu recommends confirming a meeting date and time via email. Sample email copy and Zoom instructions are included below.
Step 4: Conducting your virtual meeting.
Setting up a Zoom account
If your business would like to offer “Zoom” as a platform to conduct virtual meetings, you will be required to create a Zoom account.
For most businesses, a Free account will be all you need. A free account will provide:
- Unlimited number of meetings
- Unlimited time on meetings with 2 attendees
- Max of 100 people per meeting
- Max of 40 minutes on meetings with more than 2 attendees
The steps below will help you setup a FREE Zoom account and help walk you through what you will need to do to start using your account after setup.
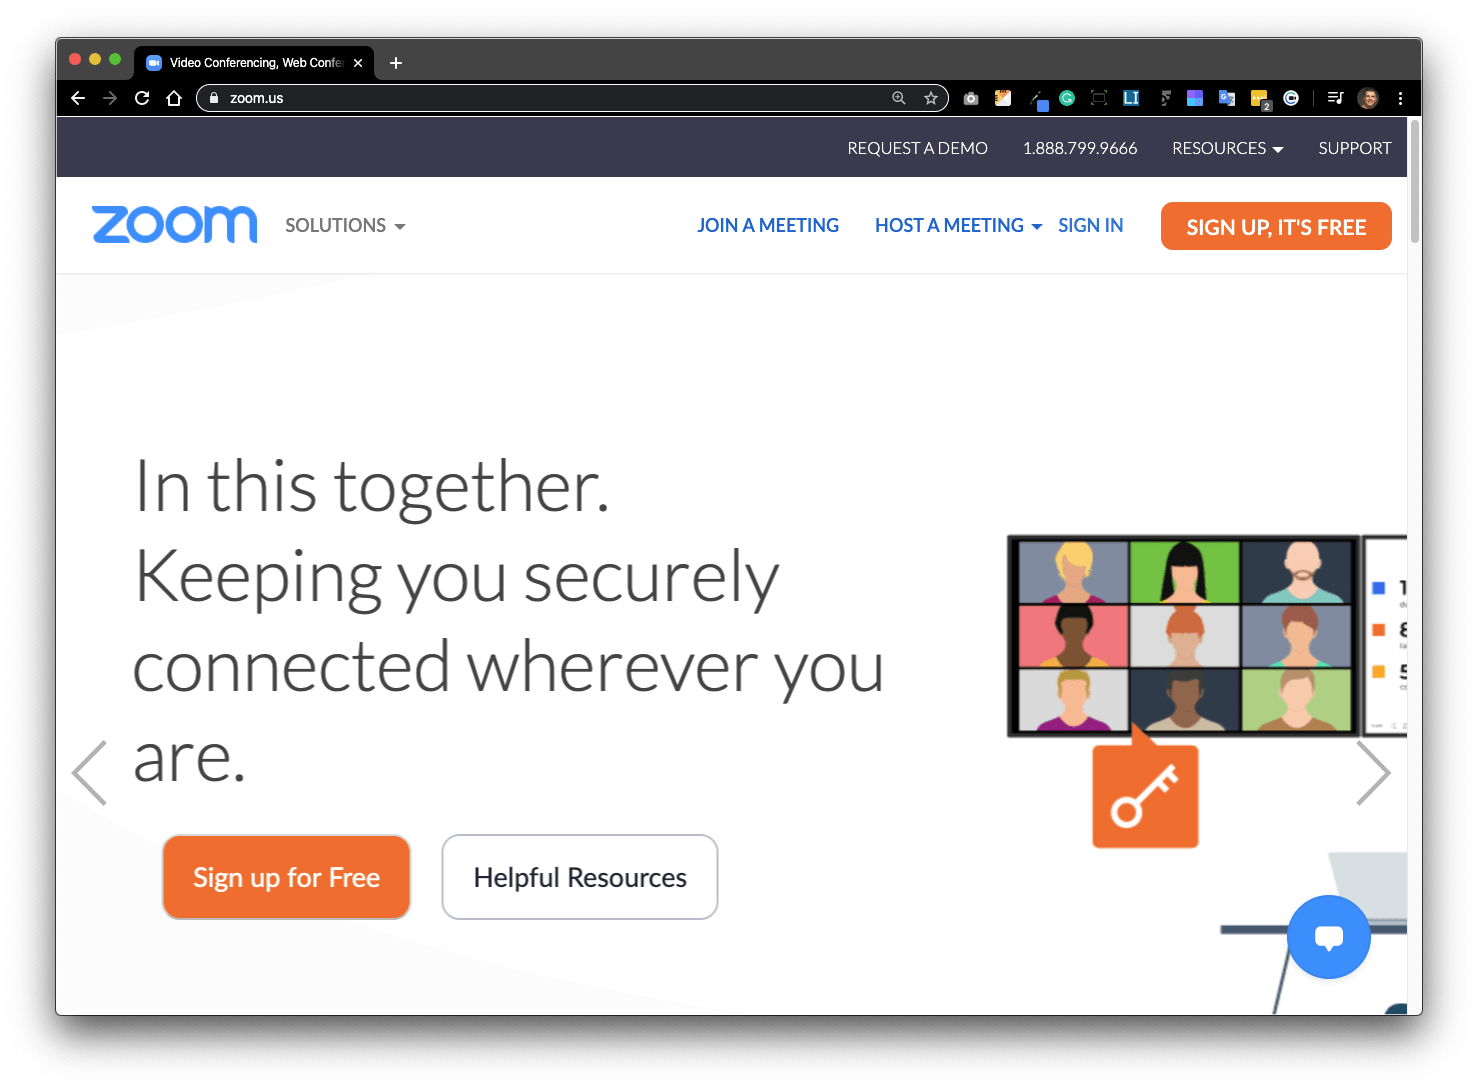
- Visit https://zoom.us/signup
- Enter your birthday to proceed
- Enter your email address and click “sign up”
- You will receive an email to the address that you have entered. You will need to go into that email inbox and find the email from Zoom, with the subject “Zoom Account Sign up Assistant”
- Note – please check any spam or clutter folders if you do not see the email in your inbox
- Once you have found and opened the email from Zoom, click on the “Activate Account” button
- You will be taken back to a webpage. Follow the prompts to complete the signup in your browser. Click “No” when asked if you are signing up on behalf of a school
- Enter your first name, last name, and a password to continue
- Your account is now created. You will be prompted to invite others to signup, but for this purpose there is no need and we recommend you just “skip this step” here
- You will now be setup and shown your personal meeting URL
- Note – this URL will have your meeting ID, followed by a password already embedded so that users do not need to enter a password to join your meeting
- COPY this personal meeting
URL: (highlight the entire URL and right click, choose copy, or highlight and press CTRL + C on your keyboard) You will need this later. Hibu recommends you save this URL somewhere you can quickly access later
You are now setup with a Zoom account and a meeting URL that can be used for all of your virtual engagements. There is nothing else needed from you and no further information you will need to provide to Hibu. We will add Zoom as an option for users to select when requesting a virtual meeting with you.
Downloading Zoom
If you use a laptop (PC or Mac) Download the web client
- To download, go to https://zoom.us/download
- Choose to download the first option “Zoom Client for Meetings”
If you plan to use a tablet or phone
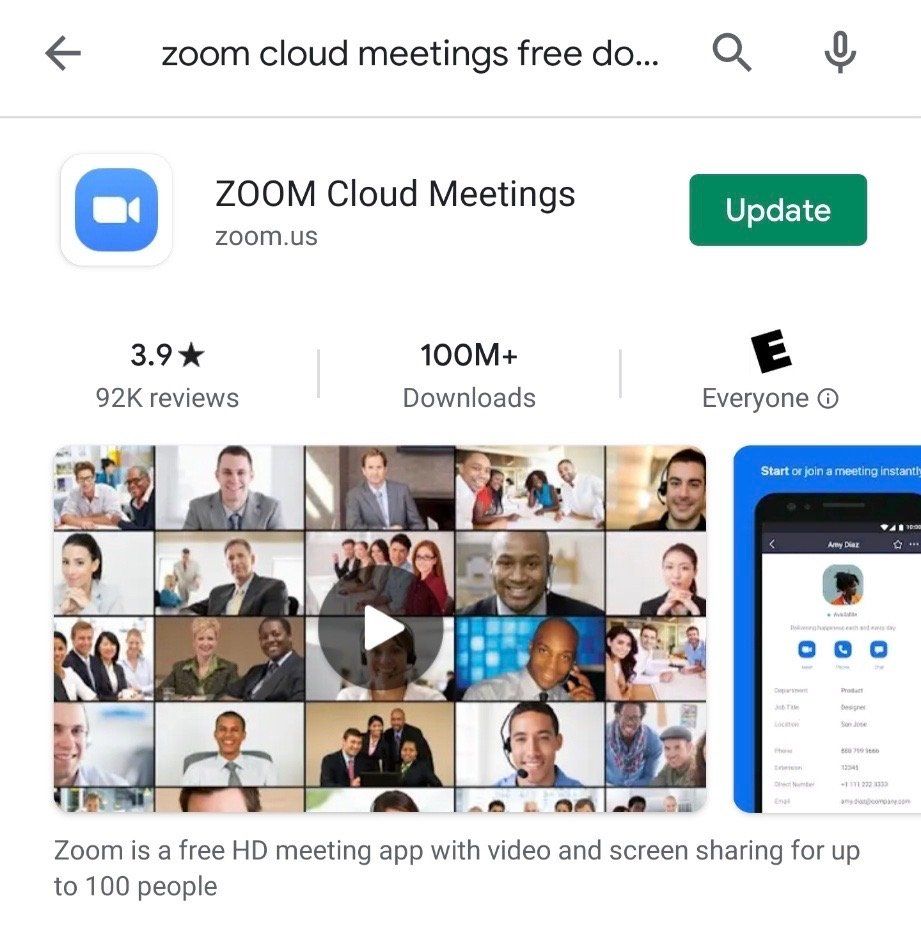
- Go to the Apple App Store or Google Play store to download the free Zoom mobile application
- The app you should download is called “ZOOM Cloud meetings."
Now that you have created your account and downloaded Zoom, you will be ready to conduct your virtual meetings with your clients as soon as you receive a request from your Hibu website.
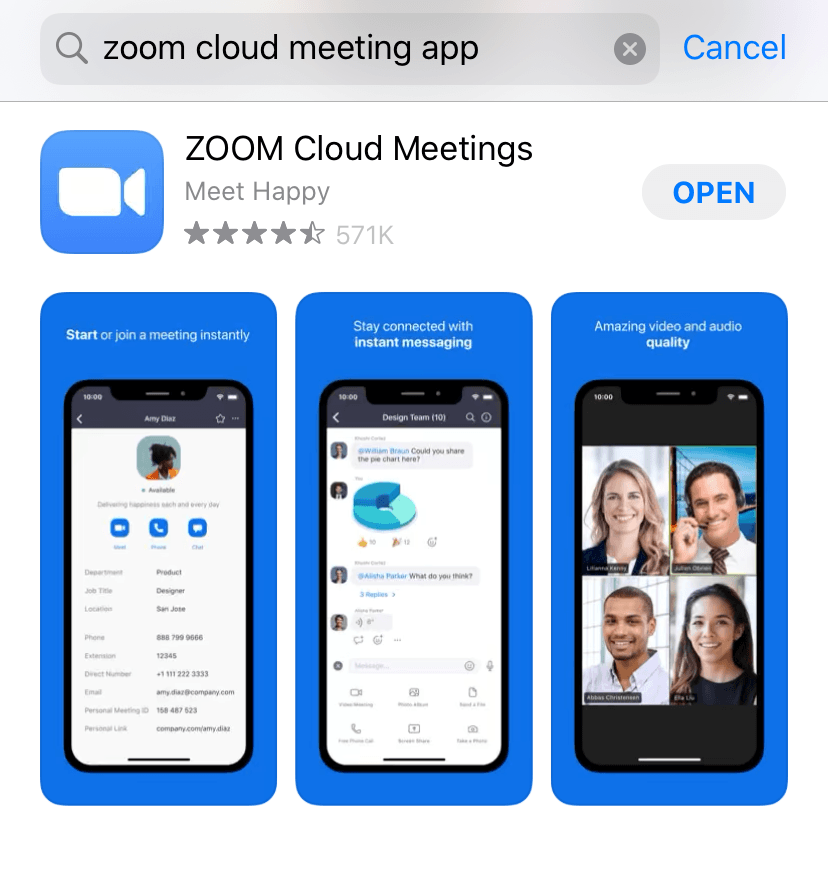
Apple User View
Responding to a Request for a Virtual Meeting Request
Confirm a final date and time via email.
No matter what platform(s) you are offering, or what the requestor has chosen, you should send an email back to the requestor that suggests a date and time that falls within their selections and fits with your schedule.
If you are using Zoom, please make sure you to include your personal meeting URL in the email copy. Hibu also recommends that you give your clients instructions on how to join the meeting (which can also be found in the email copy below).
Note – If you forgot to copy and paste your personal meeting ID when you created your account, or cannot find it, you can always retrieve it by signing into your account and going to ‘profile.’ You will see your “personal meeting ID” which can be copied and used in your email.
Example email copy:
Hi [requestor name],Thank you for choosing to setup a virtual meeting using Zoom.Our meeting time will be [insert time] on [insert date]The meeting URL you will need to join is [insert personal meeting URL]Note - You do not need a Zoom account, and you will not need to a password to join.To join the meeting:
By Desktop or Laptop: You can join the meeting by simply clicking on the URL above
By phone or tablet: You will need to download the Zoom Cloud Meetings app first. (again, no need to create an account, just have the app on your phone or tablet)
Once you have it downloaded, you can simply click the URL above to join the meeting.
Please make sure you choose to join with video and audio, and your computer or phone volume is on.If for some reason this meeting time and date no longer works for you, or you cannot join for any reason, please give us a call or email back to reschedule.We look to forward to virtually meeting with you!Sincerely,[Your name/business name]
Starting your Zoom meetings
Once you have your account setup, and Zoom has been downloaded to your device, you are now ready to use Zoom to conduct your virtual meetings. The steps below will explain how to start your meeting.
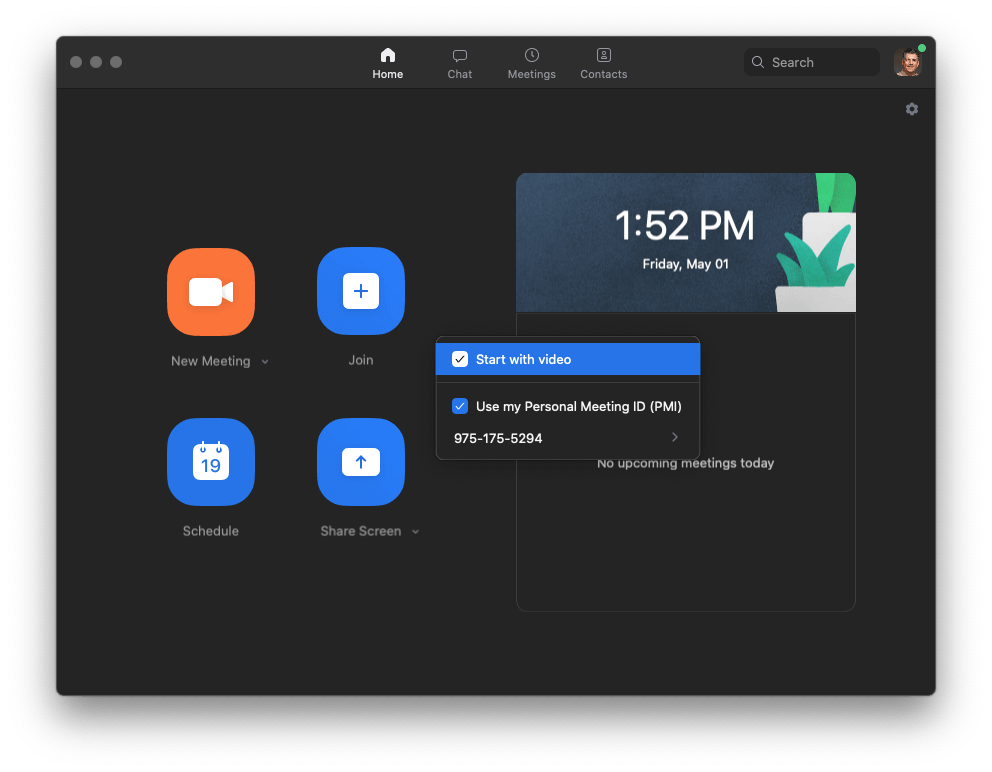
If you are using your laptop…
- Open the Zoom client
- Click sign-in
- Enter email and PW and click button to “sign in”
- Make sure “start a meeting” is selected in top navigation
- Click button to “start with video”
NOTE
- You must have “use my personal meeting ID” checked.
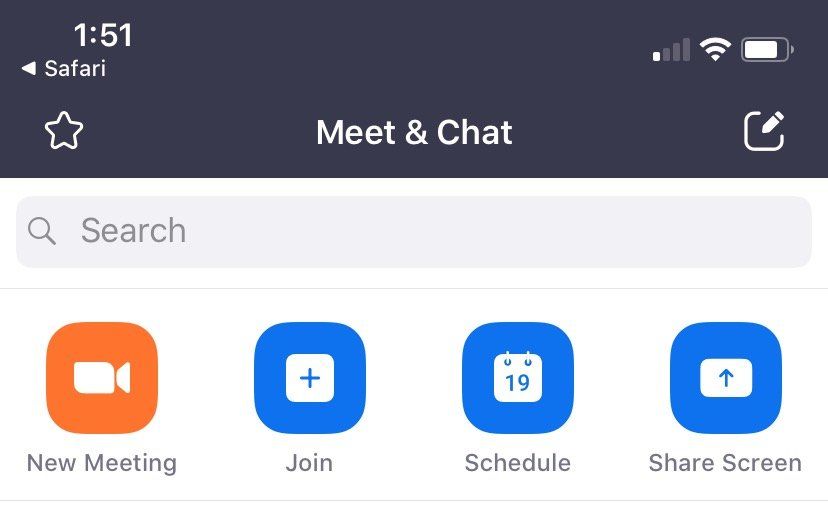
If you use a tablet or phone...
- Open the Zoom app
- Tap sign-in
- Enter email and PW and click button to sign in
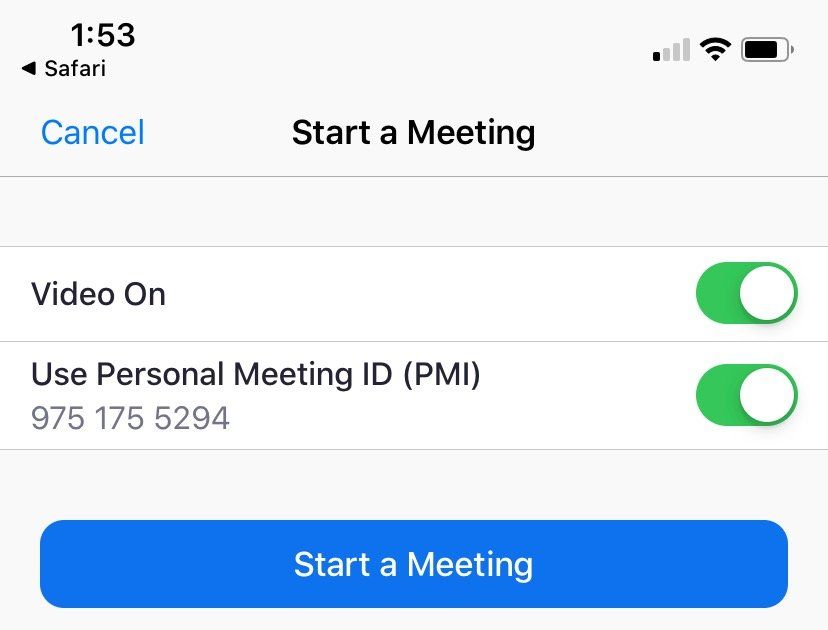
- Tap “New Meeting” icon in top left
- Make sure to select “Use personal meeting ID”
- This will NOT be selected by default, so you will need to change this each time
- Tap the “start a meeting” button